A proper blood pressure reading can be tricky at times. Below, I’ll go into detail about the things that can contribute to an inaccurate reading and what you can do to prevent it.

Step 1
Sit Quietly
Sit quietly for 5 minutes even before starting to take your blood pressure.
Your mind is a powerful thing and your thoughts can directly influence you.
Ever thought about that time you were running late and that bad thing happened? Or maybe when that jerk cut you off in traffic? Or what she said about you last week?
Okay, no, don’t do that.
See how your breathing already sped up? Got a little anxious feeling in your chest? Your brain senses the threat you feel and our old brains meant for survival against all odds kick into fight or flight. This prepares your body to run like hell or turn and pop one in the kisser. A shift in brain chemistry here and little increase in heart rate there, and your system prepares for what you do next. So being all amped up does not give a proper blood pressure reading, and basically is a useless number. It may, however, tell you what it increases to when you’re under stress, if that’s something you want to take away from it.
Otherwise…
Take a deep breath, in through the nose, out through the mouth.
Again, in the nose, out the mouth.
Again.
Ah, don’t you feel more relaxed? If not, try another couple breaths. It may take a little while to relax, especially if you’re worried about something or upset. That’s okay. Take as much time as you need. We all need to take the time to breathe a little more deeply, anyway.

Step 2
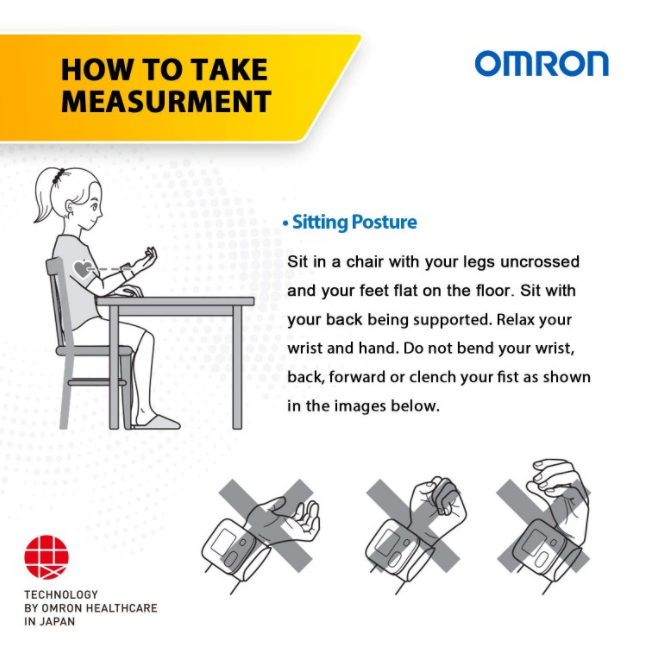
Feet Flat on the Floor
Make sure your legs are uncrossed.
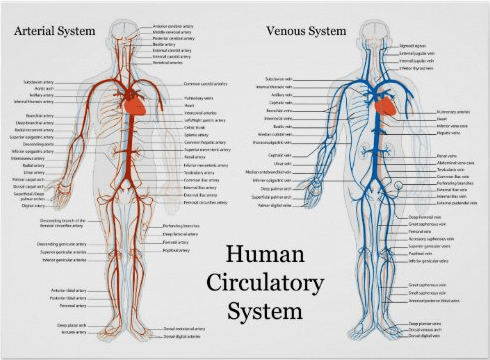
Major veins and arteries run throughout your body, especially in your legs, carrying blood away from the heart and down to your feet, then return back up to your heart. If your legs are crossed, you disrupt this blood flow.
Think of air vents in your car: if you have your heat on full blast and close one vent, all the other vents blow stronger. You’re reducing the area. Also like putting your thumb over the end of a hose, restricting the opening, forcing the water to squirt out farther and spray your brother in the face. Same principal.
Step 3
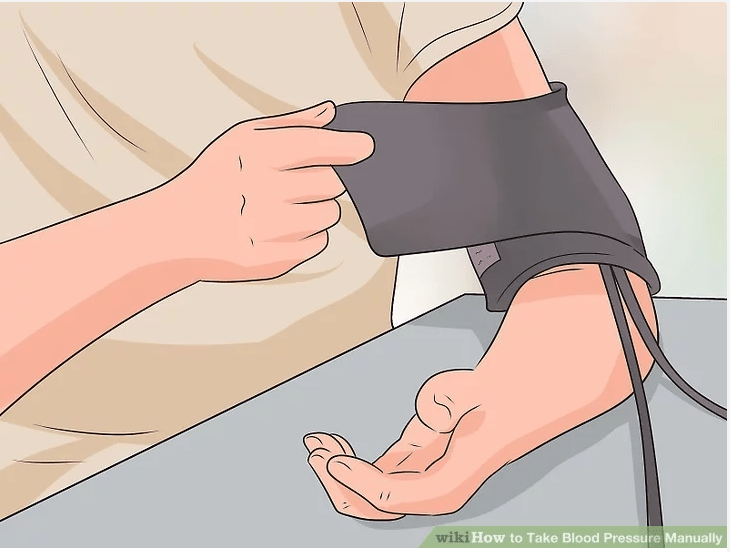
Donning the Cuff
Okay now, if you are taking someone else’s blood pressure, the next following steps will also be important to know. First, I’ll go into detail on taking your own blood pressure.
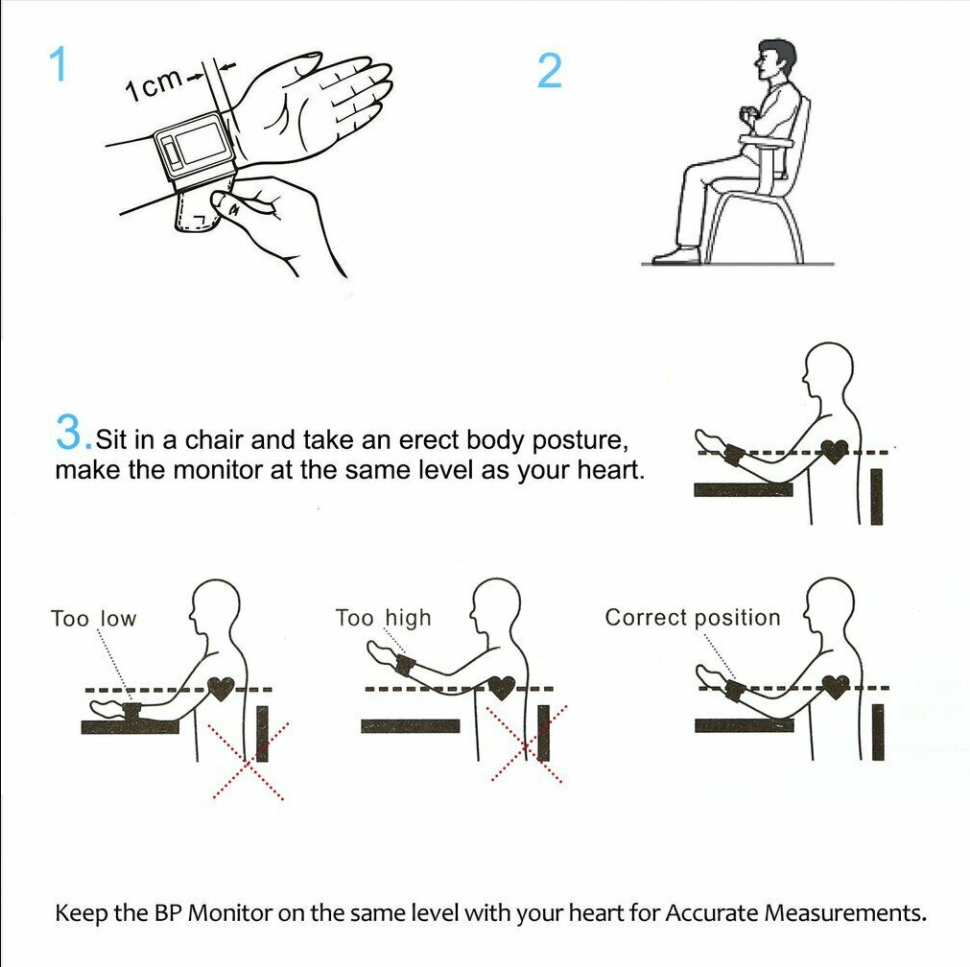
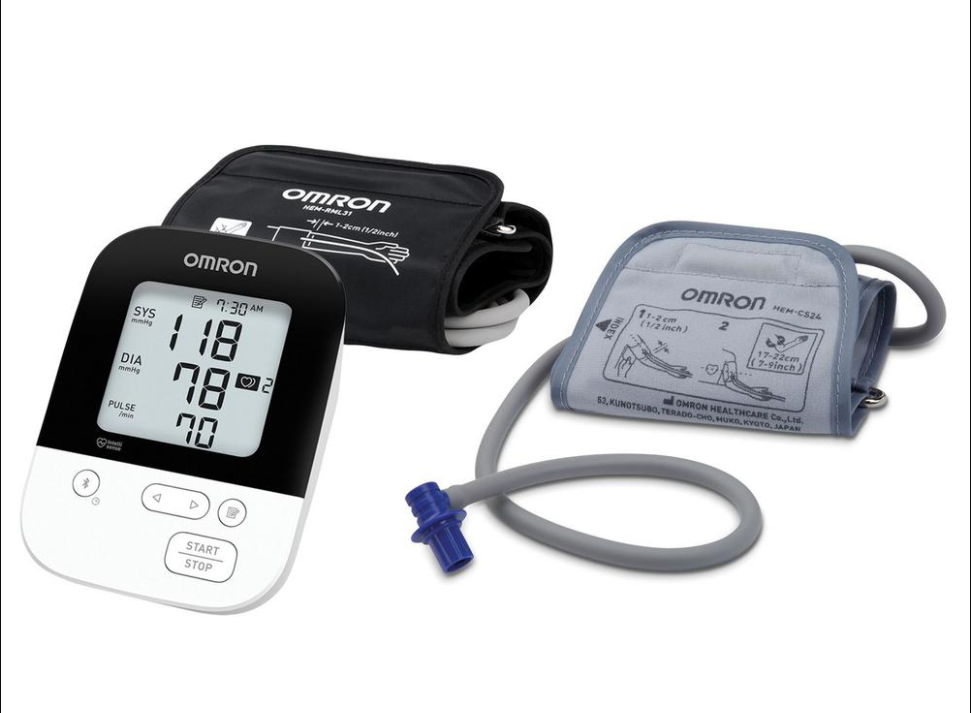
There are several choices for blood pressure cuffs. Most popular of the automated type are the upper arm cuff and the wrist cuff. Make sure whichever you choose is the proper fit, not too tight and not too loose. Ideally you should be able to stick two fingers between the cuff and you arm. There is also a size line where the cuff wraps together. You want to make sure it’s within the size range, otherwise you need to find one that fits better.
In my experience, the wrist cuffs tend to be about 20 points higher than actual, so just keep that in mind.
Each blood pressure cuff will have it’s own particular instructions on use. Some prefer your arm to be raised and supported at heart level, others want your elbow bent and resting on the arm of a chair or on a table. Most commonly with the wrist cuff, some prefer the arm crossed over the chest. Each one will have it’s preferred method displayed either on the cuff or device itself, or in the instructions that come with it. Using the incorrect position can vastly alter the results. Think of that circulatory system.
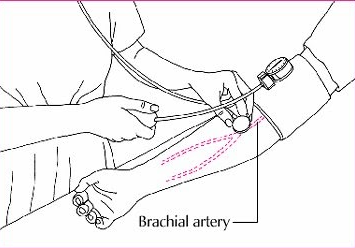

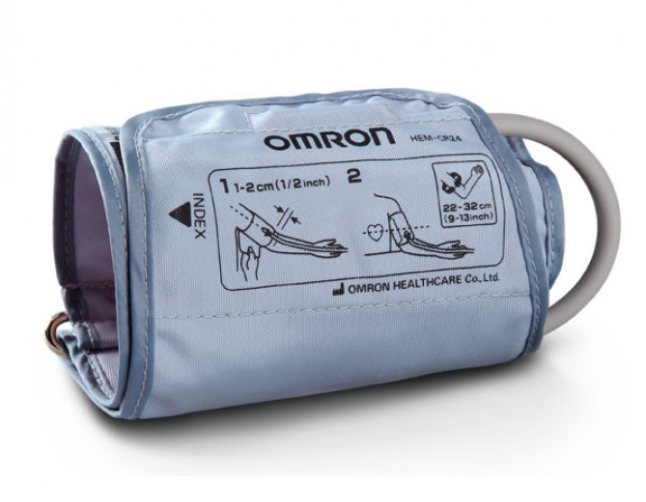
There will be a marker on the cuff for lining up with your brachial artery. With your palm up and your arm extended, it will be the big major artery that runs up and down your arm. If you’re pale like me, you’ll be able to see it.
For the most accurate results, use a bare arm. Not only does clothing mask faint heart beats, it also changes the diameter of the arm. It all interferes.
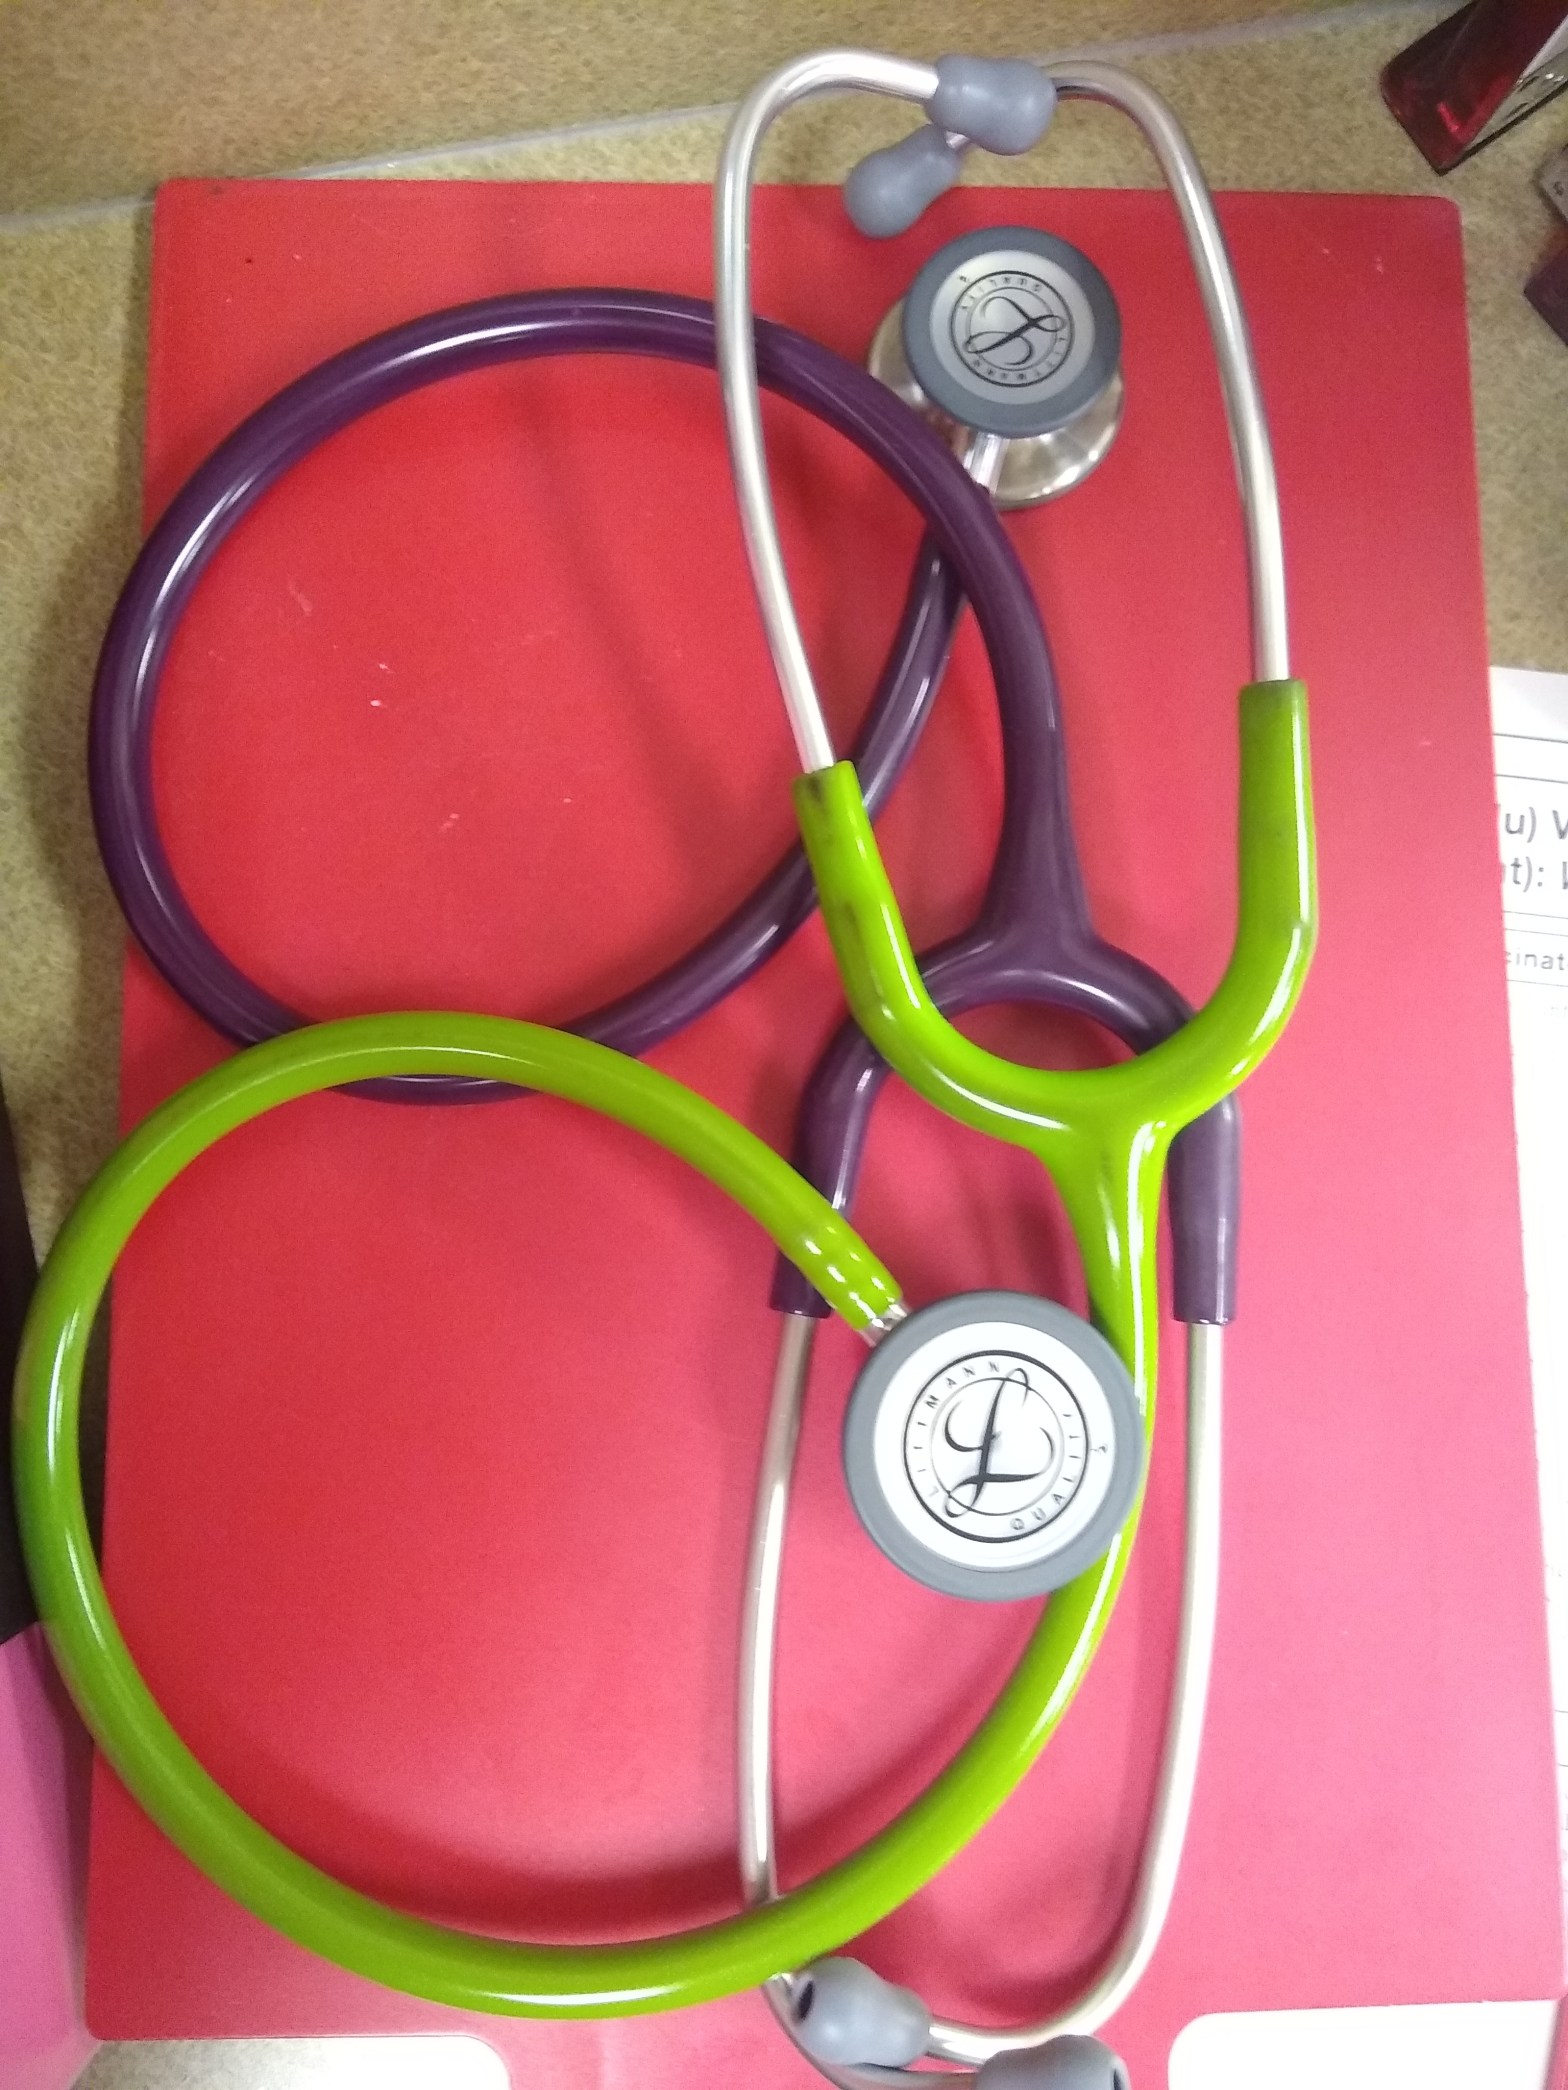
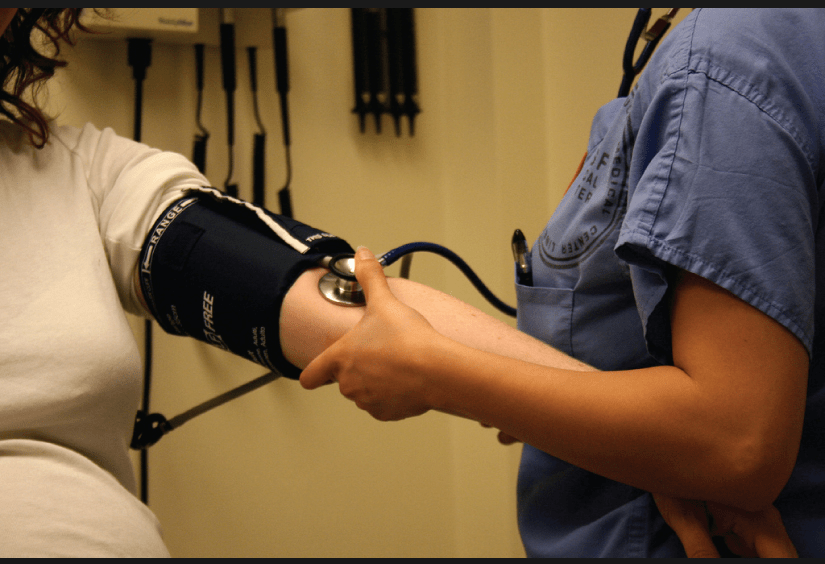
If you’re taking someone else’s blood pressure and using an upper arm cuff, make sure to support their arm as you do this; having to hold up one’s arm can pump extra blood into the muscle, making their blood pressure appear more elevated than it actually is. Plus, it’s uncomfortable. You can hold the end of the your stethoscope in the same hand as you use to hold the arm: use your thumb on the bell end while supporting the back of their elbow with the rest of your hand and your forearm can gently hug their arm.
No deathgrips needed.
Step 4
Inflation
Inflate the blood pressure cuff. If you’re using a manual upper arm cuff, close the relief valve and begin pumping the bulb. Pump this up to 180 mmHg and then slowly release the valve. However, you may need to pump it up more if their blood pressure is elevated. Watch the gauge as you release the pressure, the first heart beat you hear is the top number (or systolic) and the last is the bottom number (or diastolic).
If this is an automated monitor, press the button. Most say ‘Start’.
This is important:
Do not move.
Regardless of type of monitor you are using, it will mess up the reading.
And no talking, either. Again, think of how powerful your mind is. Just sit quietly.
For the automated monitors, it is listening/feeling for your heartbeats. When you move, these could falsely be interpreted as your pulse, causing it to record the wrong number.
For the manual types, this also affects it. The person taking your blood pressure is trying to listen for the first audible heart beat as they slowly let the pressure off. If you move or squirm, every little vibration is loud in their ears and some people’s hearts are so very quiet, it can be hard to hear on a good day. Extra noise does not help.
The automated types will perform their duty then either beep or simply fully deflate. Wait until it has fully completed its cycle until moving to check the reading.

Step 5
The Reading
Ideal healthy readings should be around 120/60 mmHg.
A little too low would be somewhere around 80/40 mmHg. That’s when you start feeling dizzy, especially when standing up too fast.
A little too high would be 140/90 mmHg. If it’s 200/100 mmHg or more, that’s getting into stroke risk category and you might think about being checked out at the ER. Especially if you have sudden shortness of breath, chest pressure, headache, pain in arms, jaw, or stomach, nausea, or vomiting. Then, you want to call 911 sooner rather than later to get the help you need fast.
You can always recheck your blood pressure. Start the process over again, relax for 5 minutes, then recheck it. If you recheck it too soon or repeatedly, you’re pushing all the pressure out of your arm and your readings will be inaccurate.
I hope this helps you to either take blood pressure accurately, or at least helps you understand the process behind how it works.
Take Care, and Be Well

Wow only you Kara could make an awesome read out of taking blood pressure
I found myself wanting the next chapter
So awesome
LikeLiked by 1 person
Awesome!!! Good!! I know I enjoy reading educational things more if they’re entertaining, so I hoped others did too!! Thank you!!! ❤
LikeLike
Wow only you Kara could make an awesome read out of taking blood pressure
I found myself wanting the next chapter
So awesome
LikeLike